11 KiB
Day 0
When you start programming half the battle is getting your bearings. Suddenly it matters where you put your files. You need to know where you home directory is, you need to understand file permissions, you need to understand what a file actually is. Trying to program without first learning about the thing you are programming will cause headache.
Fortunately we can do some things to make your life easier. We can install an IDE: a program that lets you visualize your files and folders and quickly switch between them. We can install a version control system that will let you "snapshot" your code and save it to the cloud so you never lose it. We can organize our project to be repeatable, and more importantly, unloseable.
I have a Windows PC
(or skip to I have a Mac)
Install Git (windows)
Git is a version control program, but you can think of it as your best friend in the cold, dark world of data loss. Git will make sure you don't lose progress. It lets you save your code at various stages and revert back to previous saves if you need to.
-
Head to https://git-scm.com/
-
Click Download

-
Run through the default install process

Install Python (windows)
-
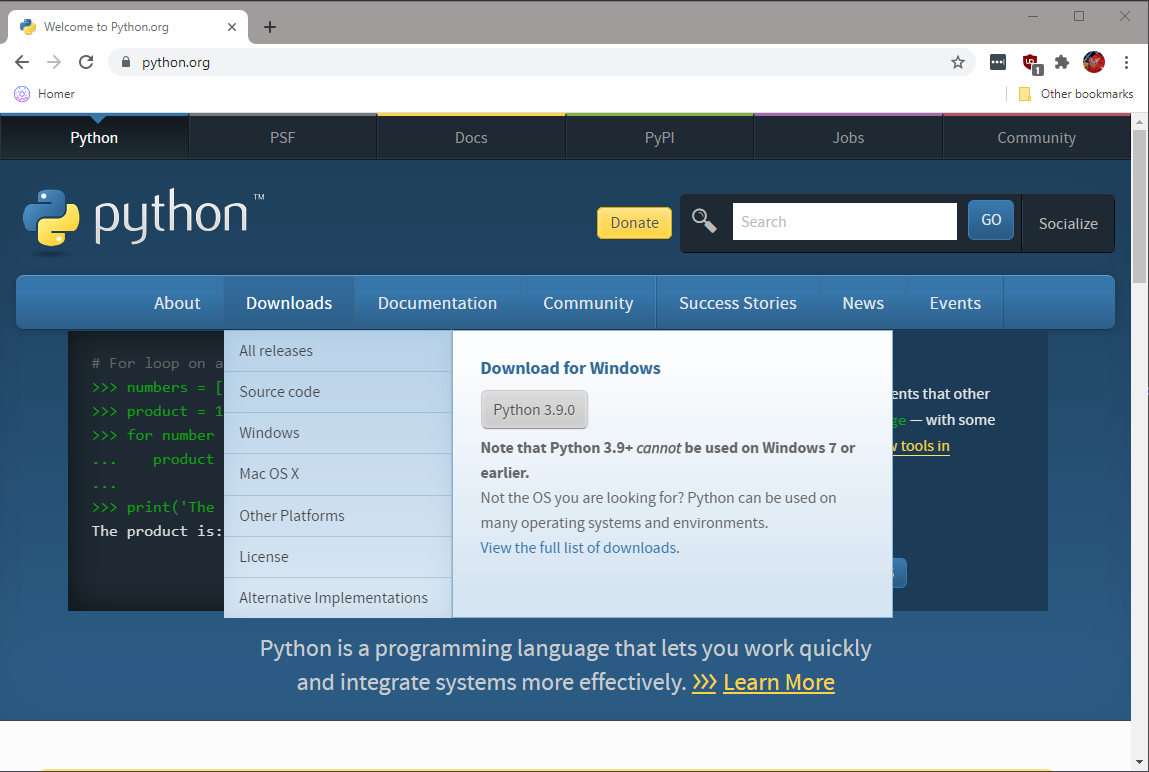
Head to https://www.python.org/
-
Hover over Downloads and click the most recent version
-
Run through the install process - uncheck "install for all users" and check "add python 3.9 to path"


Install VSCode (windows)
Your most important tool as a programmer is a proper editor. It should offer you a wide selection of tools but get out of your way when you don't need it. VSCode is a great option in 2020. It has tons of extensions and support for almost every language you can throw at it.
-
Head to https://code.visualstudio.com/
-
Click on the download link

-
Run through the installer, select default options
-
Open VSCode

-
Uncheck "Show welcome page on startup"

-
Close out of the welcome page

-
Open the terinal with ++ctrl++ + ~
-
Click the dropdown that says
1: powershelland clickSelect Default Shell
-
Select Command Prompt

-
Kill the terminal by clicking the trash can icon

-
Click the "extensions" button on the left to open the extensions page
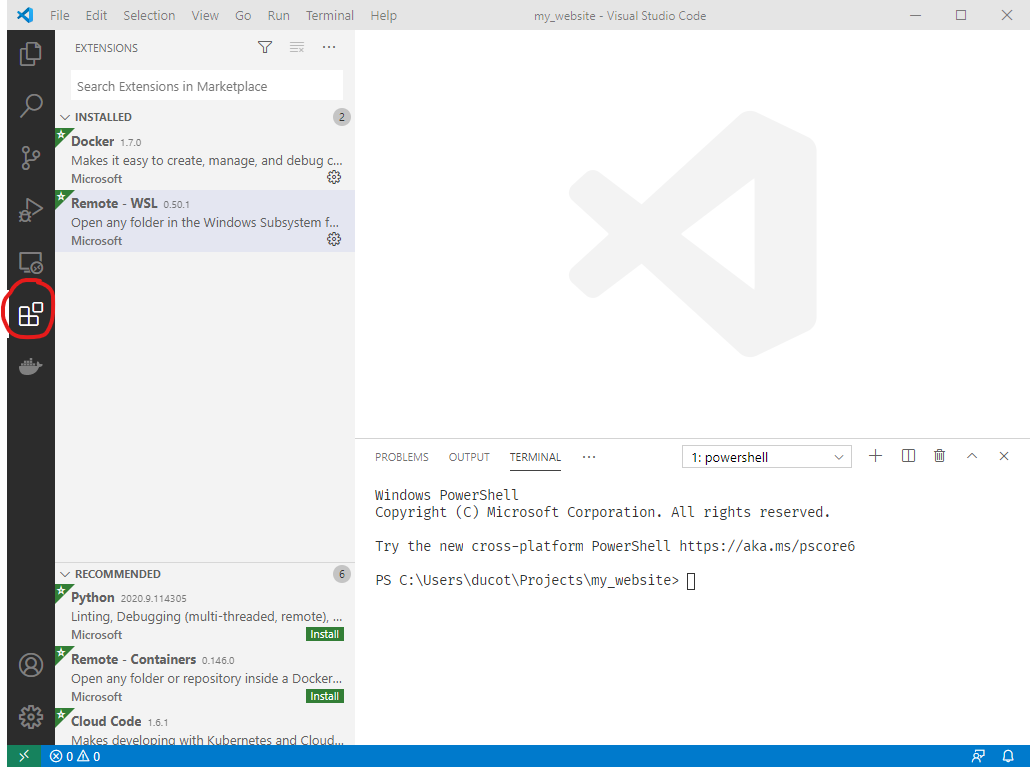
-
Search for "python"

-
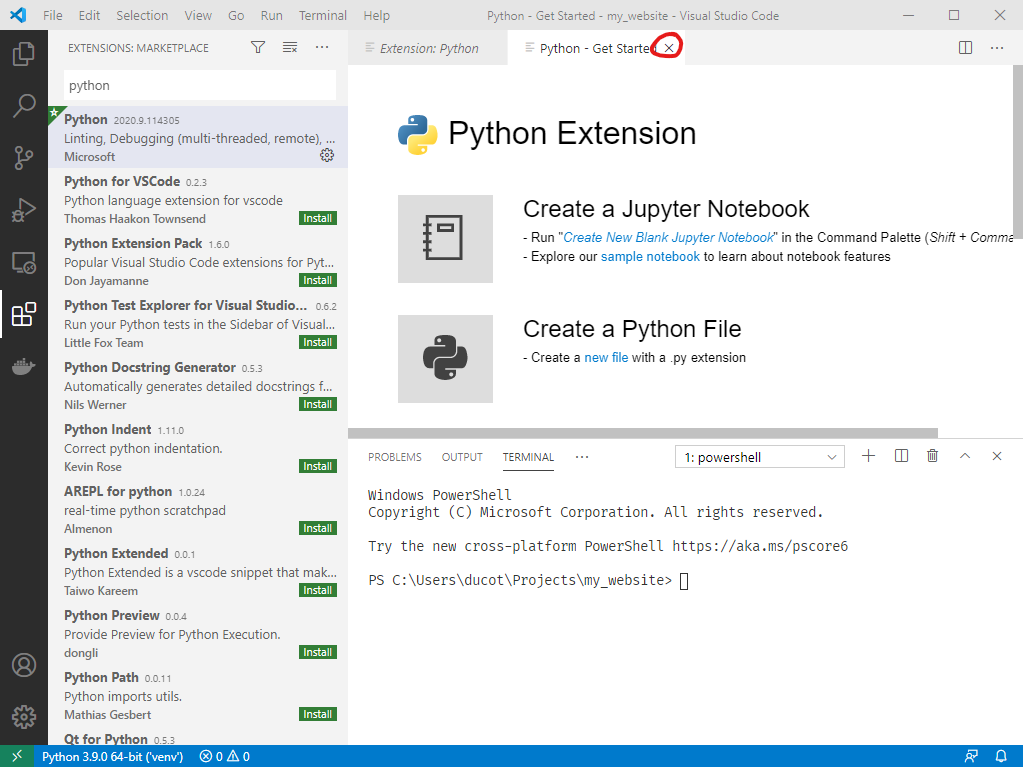
Click on the first Python extension and click "install"

-
When the extension has finished installing, close out of the welcome window
-
Close out of the extension window
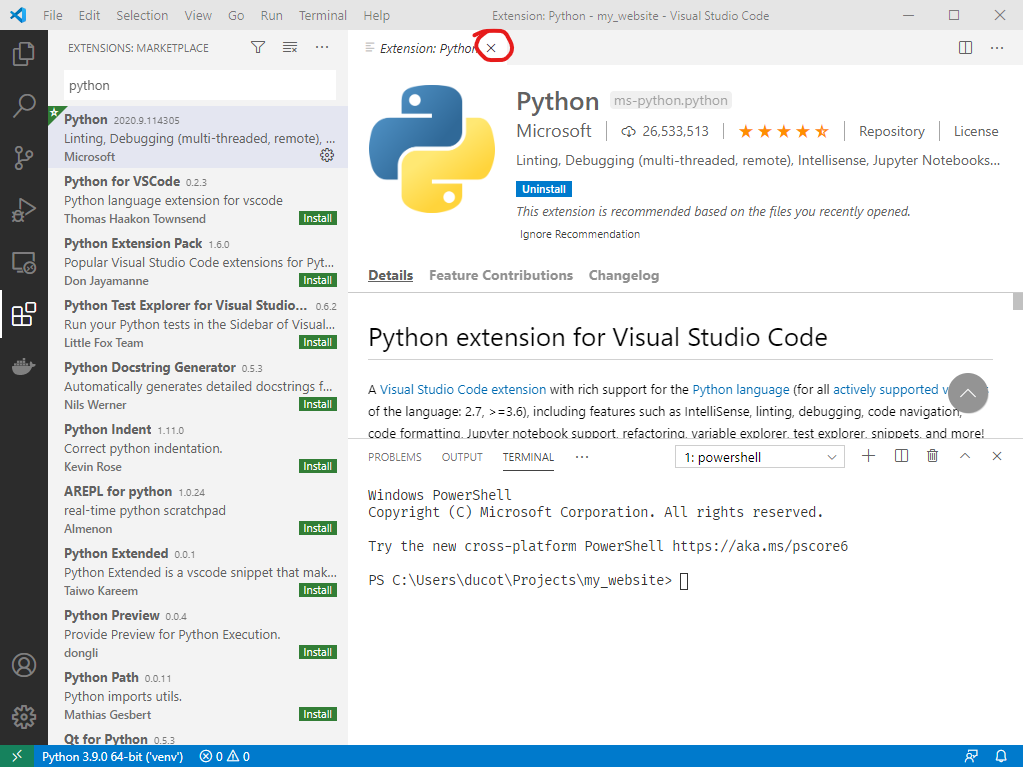
-
Reopen your document view by clicking the "documents" icon


Create a "Projects" folder (windows)
I keep all my projects in a folder called "Projects" in my home directory. On Windows this is at C:\Users\<your username>\Projects. Create this folder now. Bookmark it, put it in your favorites, don't lose it.
-
In your
Projectsfolder create another folder calledmy_website -
Switch to VSCode You can use ++alt+tab++ to quickly switch between windows. Press ++ctrl++ + K + O and select the projects/my_website folder


Create a virtual environment (windows)
A python virtual environment is a folder that will hold your python installation for the project you're working on. You'll have a virtual environment for every project you create.
-
With your "my_website" folder open in VSCode open the terminal with ++ctrl++ + ~

-
Type
python --version
-
If you see
Python 3.9.#you have the correct version, if you see another version try typingpython3.9 --version. If that doesn't work you'll need to reinstall python 3.9. -
Type
python -m venv venv. You'll see a folder appear on the left side of VSCode.
-
Source your venv: type
venv\Scripts\activate. You'll see a (venv) appear next to your terminal cursor.


Install Django (windows)
Django is a pip package. Pip packages are other people's python code that you can download for free. In much the same way you downloaded VSCode and Python itself with your browser, we can download pip packages with "pip". Pip comes preinstalled with Python.
-
Make sure you followed step 5 above, you should have a (venv) next to your terminal cursor. Type
pip install django
-
If you have a warning like above you can ignore it for now. Type
django-admin startproject config .
-
Click on
manage.py. You should see VSCode activate python extensions in the bottom left and select an interpretor. ('venv': venv) should be selected. You can ignore the message that says "linter pylint is not installed" - just close out of it.
-
Close out of manage.py by clicking the 'x' at the top.
-
Type
python manage.py runserver
-
Open a browser and navigate to http://localhost:8000

-
You should see an install success page. If so, congratulations! You have successfully installed Django.
-
Stop running server by clicking in the terminal and typing ++ctrl++ + C. You have successfully completed Day 0!


I have a Mac
Install Git (mac)
Git is a version control program, but you can think of it as your best friend in the cold, dark world of data loss. Git will make sure you don't lose progress. It lets you save your code at various stages and revert back to previous saves if you need to.
-
Head to https://git-scm.com/
-
Click Download
-
Run through the default install process
Install Python (mac)
-
Head to https://www.python.org/
-
Hover over Downloads and click the most recent version

-
Follow the standard install procss


Install VSCode (mac)
Your most important tool as a programmer is a proper editor. It should offer you a wide selection of tools but get out of your way when you don't need it. VSCode is a great option in 2020. It has tons of extensions and support for almost every language you can throw at it.
-
Head to https://code.visualstudio.com/
-
Click on the download link
-
Run through the installer, select default options
-
Open VSCode
-
Uncheck "Show welcome page on startup"
-
Close out of the welcome page
-
Click the "extensions" button on the left to open the extensions page
-
Search for "python"
-
Click on the first Python extension and click "install"
-
When the extension has finished installing, close out of the welcome window
-
Close out of the extension window
-
Reopen your document view by clicking the "documents" icon
Create a "Projects" folder (mac)
I keep all my projects in a folder called "Projects" in my home directory. On MacOS this is at /Users/<your username>/Projects. Create this folder now. Bookmark it, put it in your favorites, don't lose it.
-
In your
Projectsfolder create another folder calledmy_website -
Switch to VSCode You can use ++cmd+tab++ to quickly switch between windows. Press ++ctrl++ + O and select the projects/my_website folder

Create a virtual environment (mac)
A python virtual environment is a folder that will hold your python installation for the project you're working on. You'll have a virtual environment for every project you create.
-
With your "my_website" folder open in VSCode open the terminal with ++ctrl++ + ~

-
Type
python3 --version
-
If you see
Python 3.9.#you have the correct version, if you see another version try typingpython3.9 --version. If that doesn't work you'll need to reinstall python 3.9. -
Type
python3 -m venv venv. You'll see a folder appear on the left side of VSCode.
-
Source your venv: type
source venv/bin/activate. You'll see a (venv) appear next to your terminal cursor.


Install Django (mac)
Django is a pip package. Pip packages are other people's python code that you can download for free. In much the same way you downloaded VSCode and Python itself with your browser, we can download pip packages with "pip". Pip comes preinstalled with Python.
-
Make sure you followed step 5 above, you should have a (venv) next to your terminal cursor. Type
pip install django -
If you have a warning like above you can ignore it for now. Type
django-admin startproject config . -
Click on
manage.py. You should see VSCode activate python extensions in the bottom left and select an interpretor. ('venv': venv) should be selected. You can ignore the message that says "linter pylint is not installed" - just close out of it. -
Close out of manage.py by clicking the 'x' at the top.
-
Type
python manage.py runserver -
Open a browser and navigate to http://localhost:8000
-
You should see an install success page. If so, congratulations! You have successfully installed Django.
-
Stop running server by clicking in the terminal and typing ++ctrl++ + C. You have successfully completed Day 0!