8.3 KiB
Day 1
Before we can dive into our web project we have to cover some Python basics. Let's talk about writing a python program.
The Interactive Python Prompt
-
Make sure you have a (venv) to the left of your terminal cursor. Type
pythonand press enter.NOTE: This is not a terminal! You cannot run your django server from here. Before you can do things in the terminal you must exit by typing
exit()!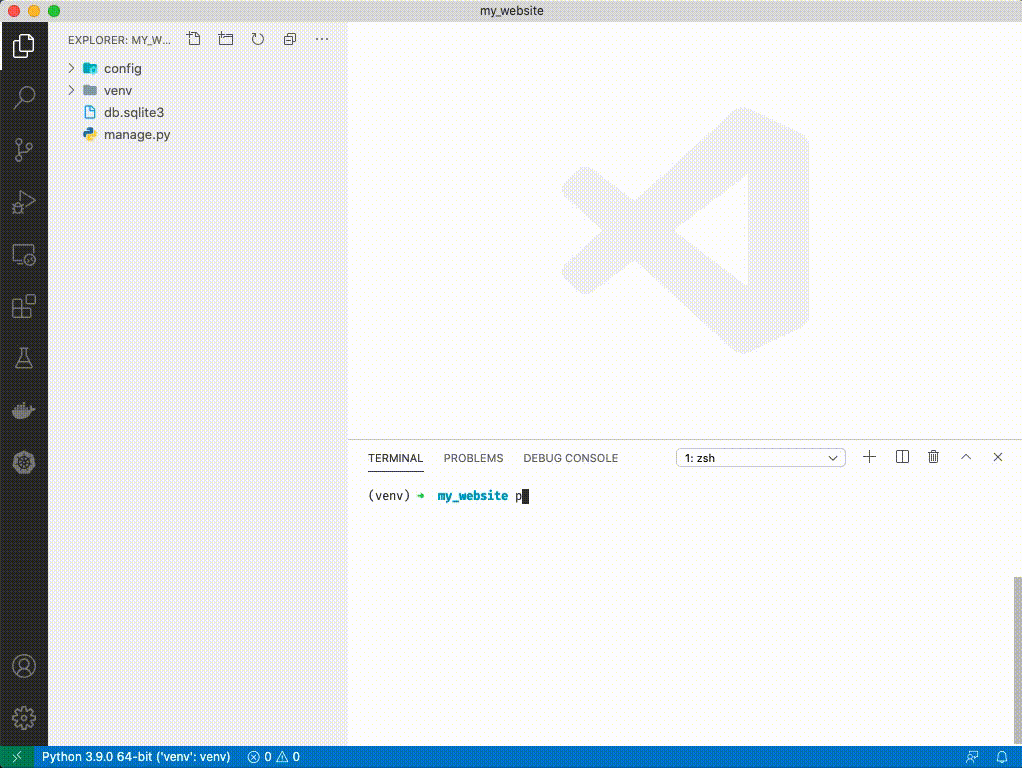
-
Type
1+1and press enter. You should see2returned. As long as you see the>>>to the left of your cursor you can type any python code you want and press enter to execute it. -
Type
x=1and press enter. Nothing should return. -
Type
xand press enter. You should see1return. We've givexthe value of1 -
Type
x+1and press enter. You should see2returned just like1+1above. -
Type
x=3and press enter. Nothing should return. -
Type
xand press enter. You should see3return. Variables in Python can be reassigned to anything else. -
Type
x="hello"and press enter. Nothing should return. -
Type
xand press enter. You should seehelloprinted to the screen. Variables in python do not have a "type" - they can be integers, strings, floats, etc and can switch between them at will. -
Type
my_name = "<your name here>"and press enter. Nothing should return -
Type
my_nameand press enter. You should see your name printed to your terminal.my_nameis a much better variable name thanx. It describes the thing it stores. Please use variable names that are descriptive. -
Type
my_coordinates = (1,2)and press enter. Nothing should return. -
Type
my_coordinatesand press enter.(1,2)should return. This is called atuple. It's useful for storing multiple points of data. -
Type
address = (123, "lane ave", "Columbus", "OH", 43212)and press enter. Nothing should return -
Type
addressand press enter. You should see the address print to the terminal. Tuples can hold multiple types of data - 123 is a number and "lane ave" is a string. -
Type
len(address)and press enter. You should see5printed to the terminal. There are 5 "things" in the tuple:(1)
123(2)
"lane ave"(3)
**"Columbus"(4)
"OH"(5)
43212 -
Type
address[0]and press enter. You should see123printed to the terminal. You just accessed the first item in the tuple. Tuples and other collections start at 0 and count up. -
Type
address[1]and press enter. You should see"lane ave"print to the terminal. You just accessed the second item in the tuple -
Type
vocabulary = {"apple": "the usually round, red or yellow, edible fruit of a small tree, Malus sylvestris, of the rose family.", "banana": "a tropical plant of the genus Musa, certain species of which are cultivated for their nutritious fruit."}and press enter. Nothing should return. -
Type
vocabularyand press enter. {"apple": ...} should print to the terminal. This is called a dictionary. -
Type
vocabulary["apple"]and press enter.'the usually round, red or yellow, edible fruit of a small tree, Malus sylvestris, of the rose family.'should print to the terminal. You just access the definition of apple. Much like tuples can be accessed withaddress[0]oraddress[1], dictionary values can be accessed by supplying the keyword, or key for short. -
Type
exit()and press enter. You should no longer see>>>to the left of the cursor.

A Python Program
-
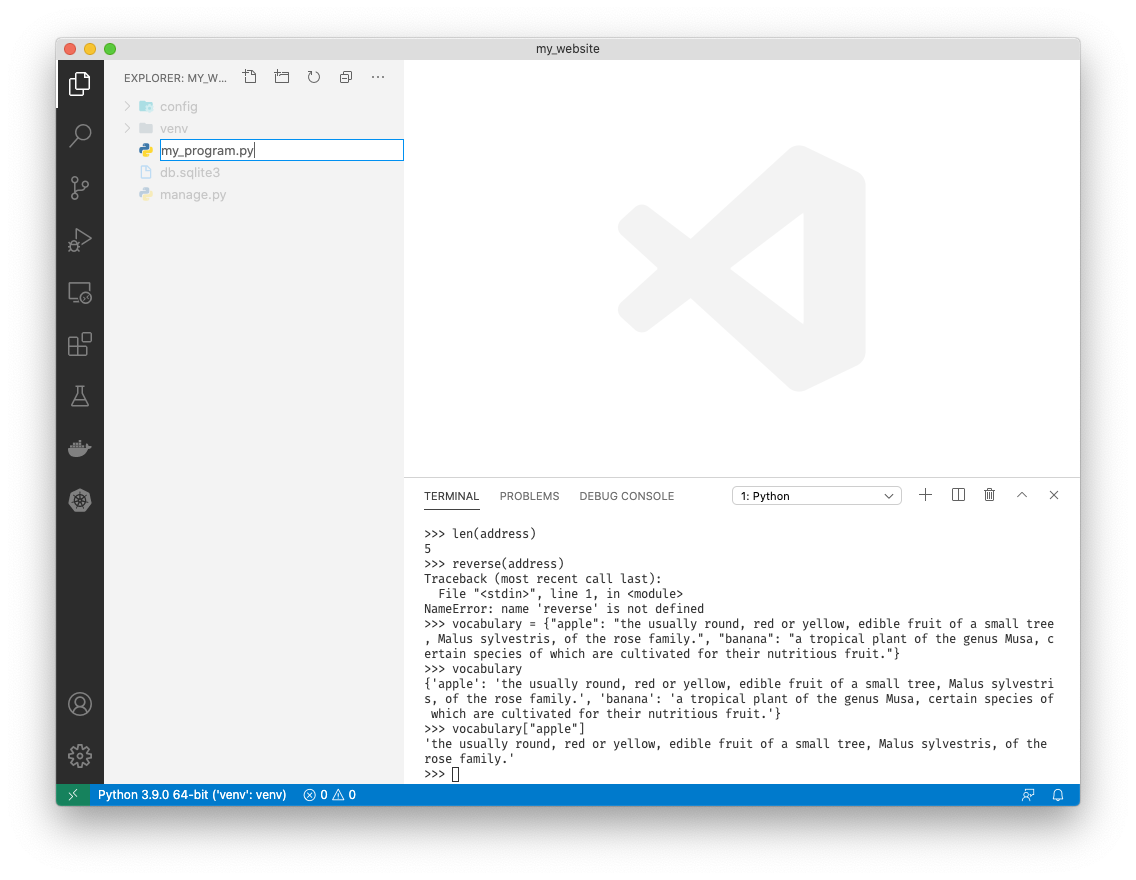
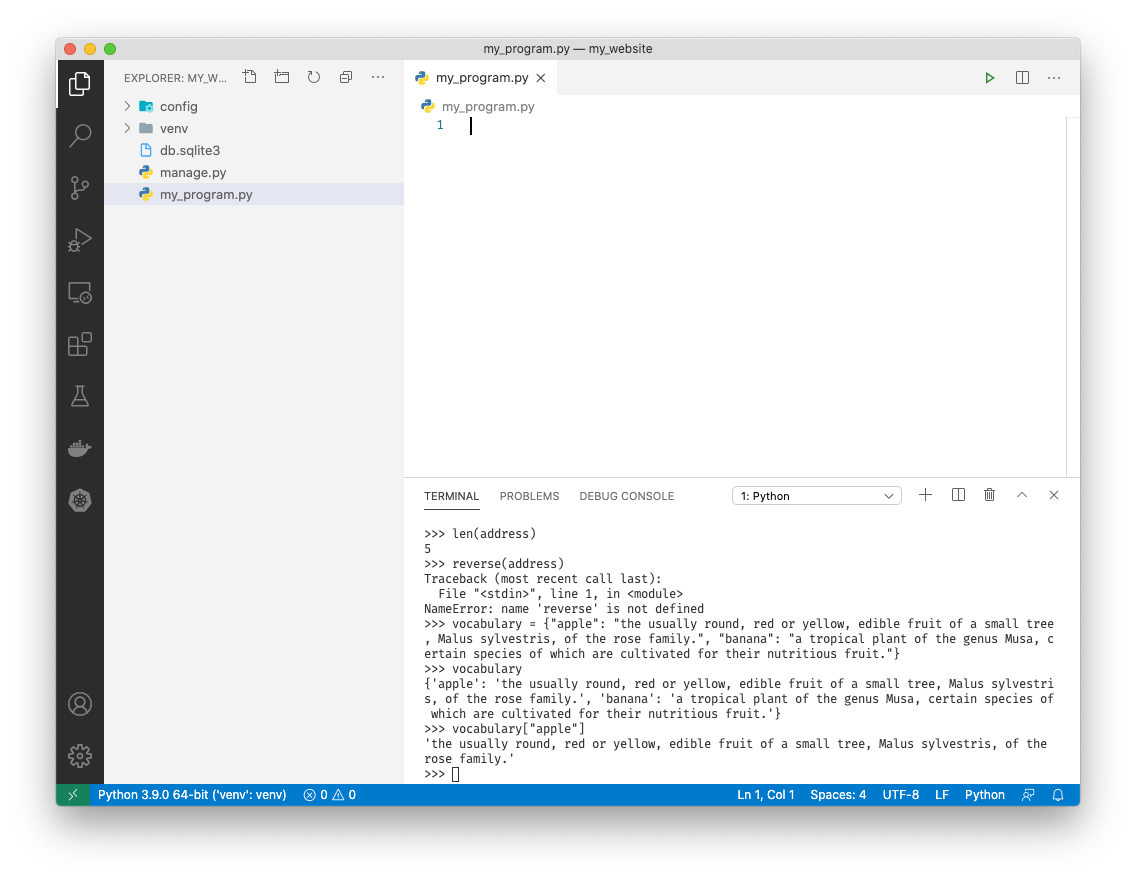
Create a new file called
my_program.pyby clicking the "add file" icon in the top left of VSCode.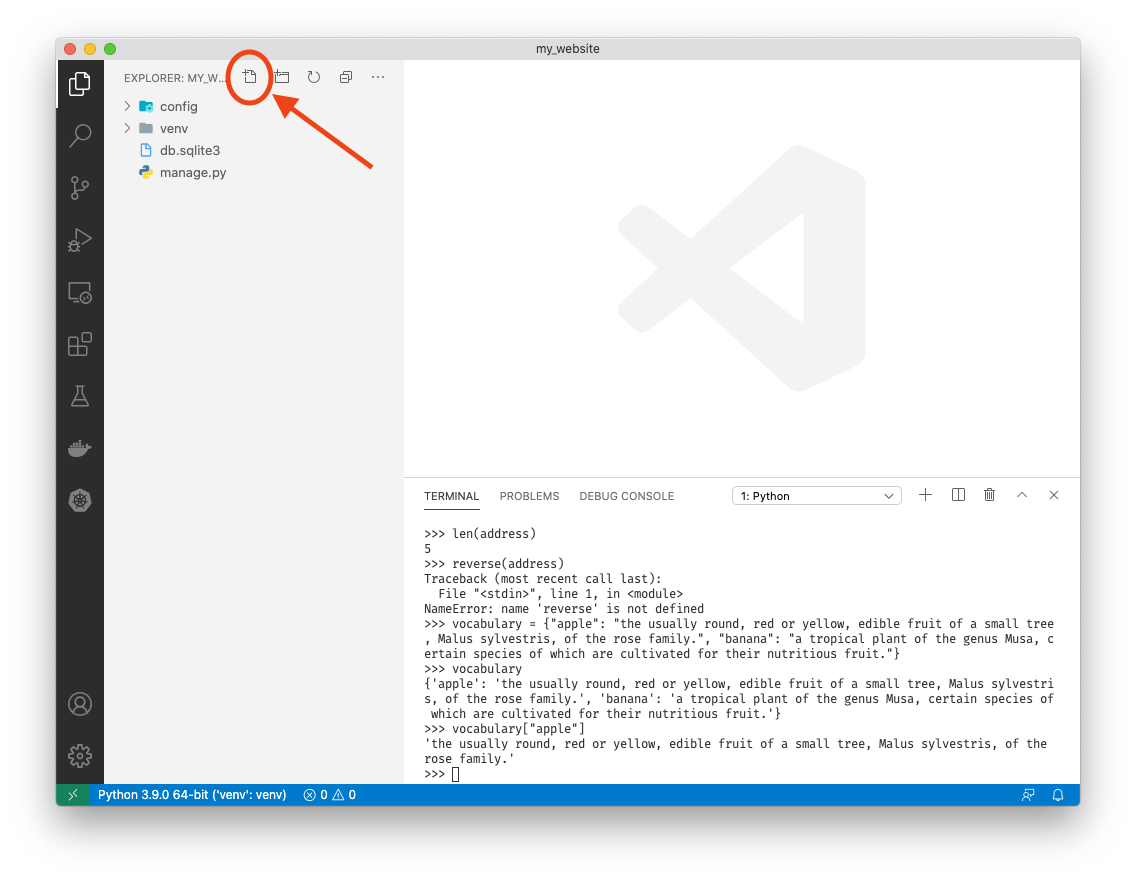
-
In this file type
print('hello, world!')and save with ++ctrl++ + S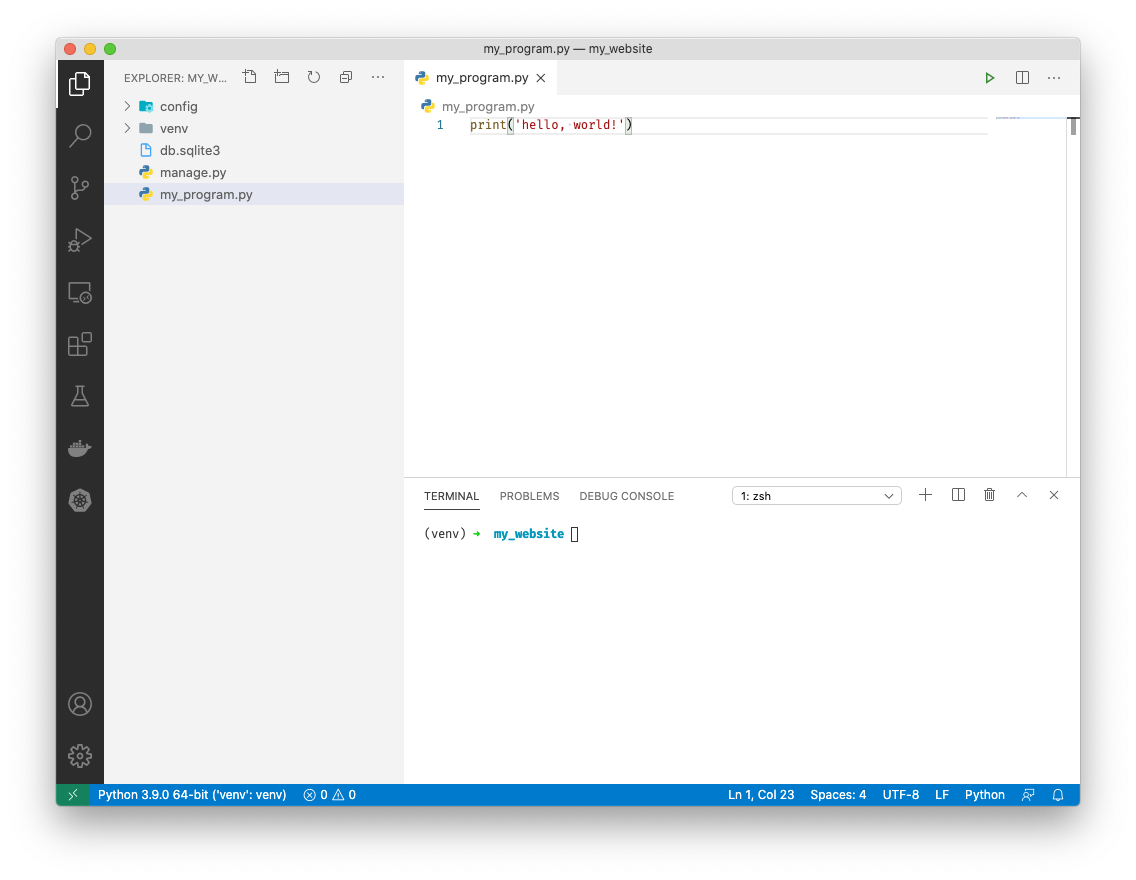
-
In the terminal type
python my_program.pyand press enter. You should seehello, world!printed to the terminal.
-
Congratulations! You ran your first python file. Just like the python command prompt above, running
python <filename>on a file with python code in it will execute that python code. Now we can run multiple lines of python at once! -
Below
print('hello, world!')typeprint('goodbye!)
-
Below
print('goodbye')typex = 1 y = 2 print(x + y) my_name = "<your name>" print(my_name)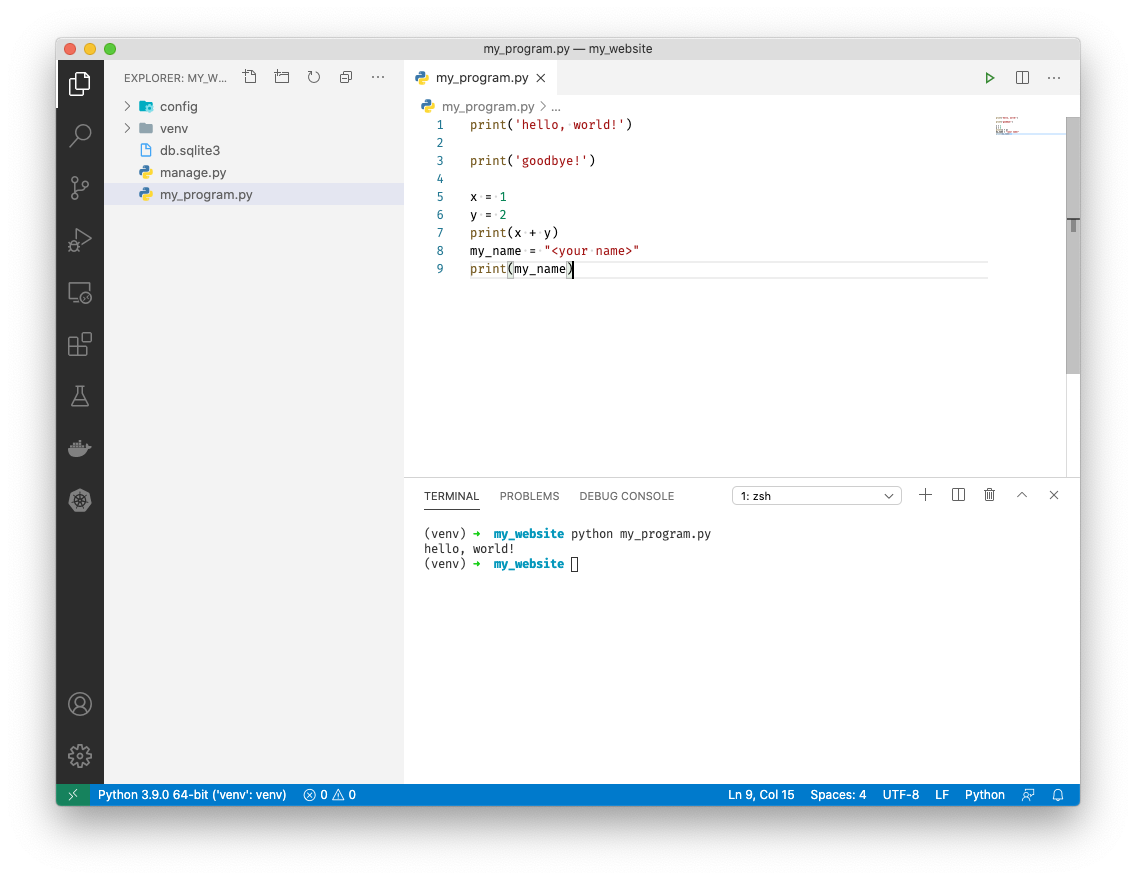
-
Save the file with ++ctrl++ + S. In your terminal type
python myprogram.pyand press enter. You should seehello, world! goodbye! 3 Reeseprinted to the terminal
-
This is out of order. We want to print "goodbye" last. Let's fix that with functions.
-
Above
print('hello, world!')typedef print_hello():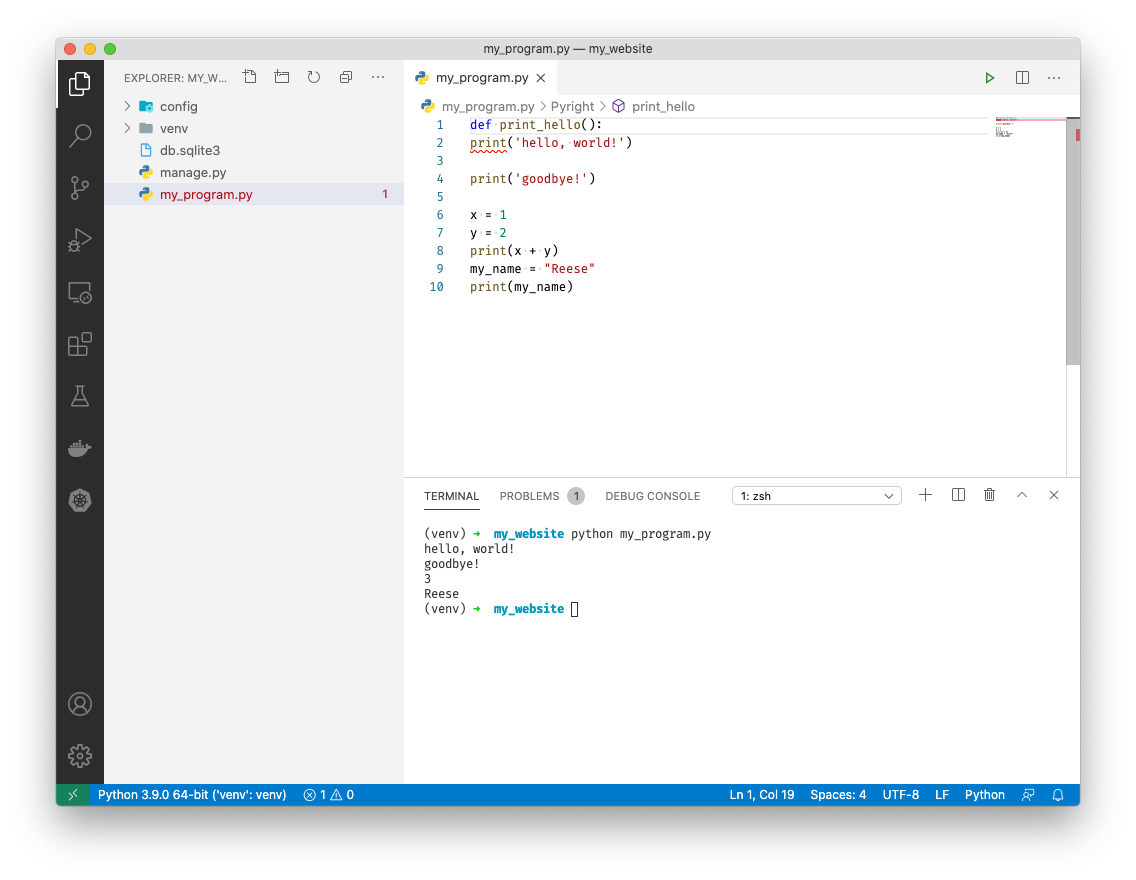
-
Indent
print('hello, world!')by pressing ++tab++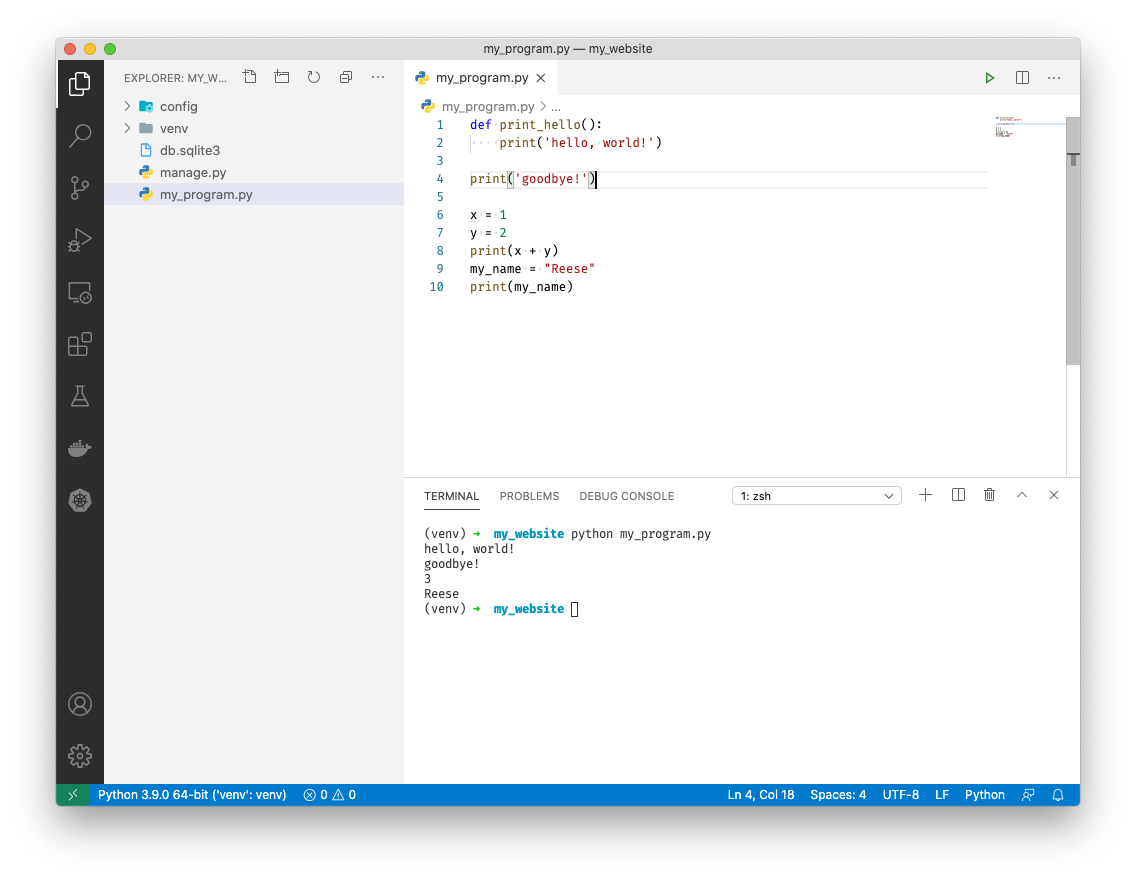
-
Give 'goodbye' the same treatment. This time type
def print_goodbye():
-
Finally add
def middle_stuff():above the remaining cod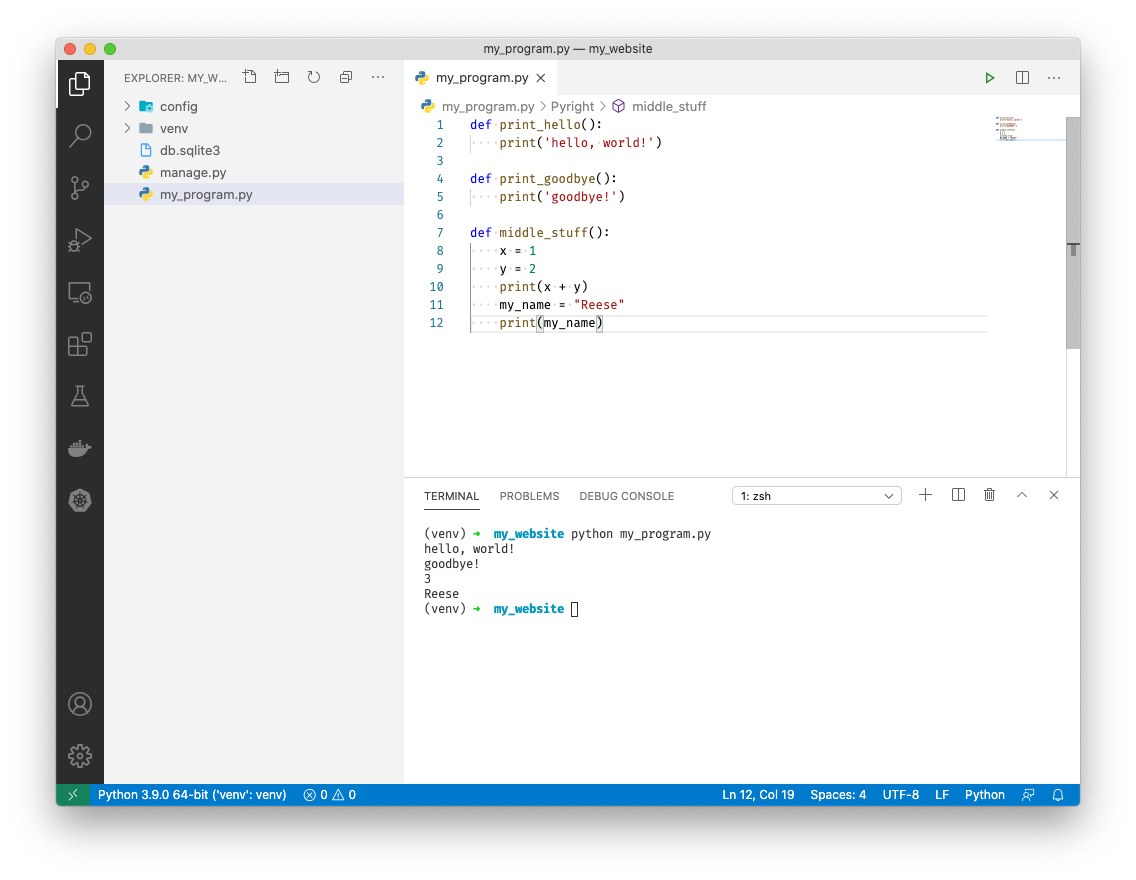
-
Save the file with ++ctrl++ + S. Now type
python my_program.pyin the terminal and press enter. Nothing will return.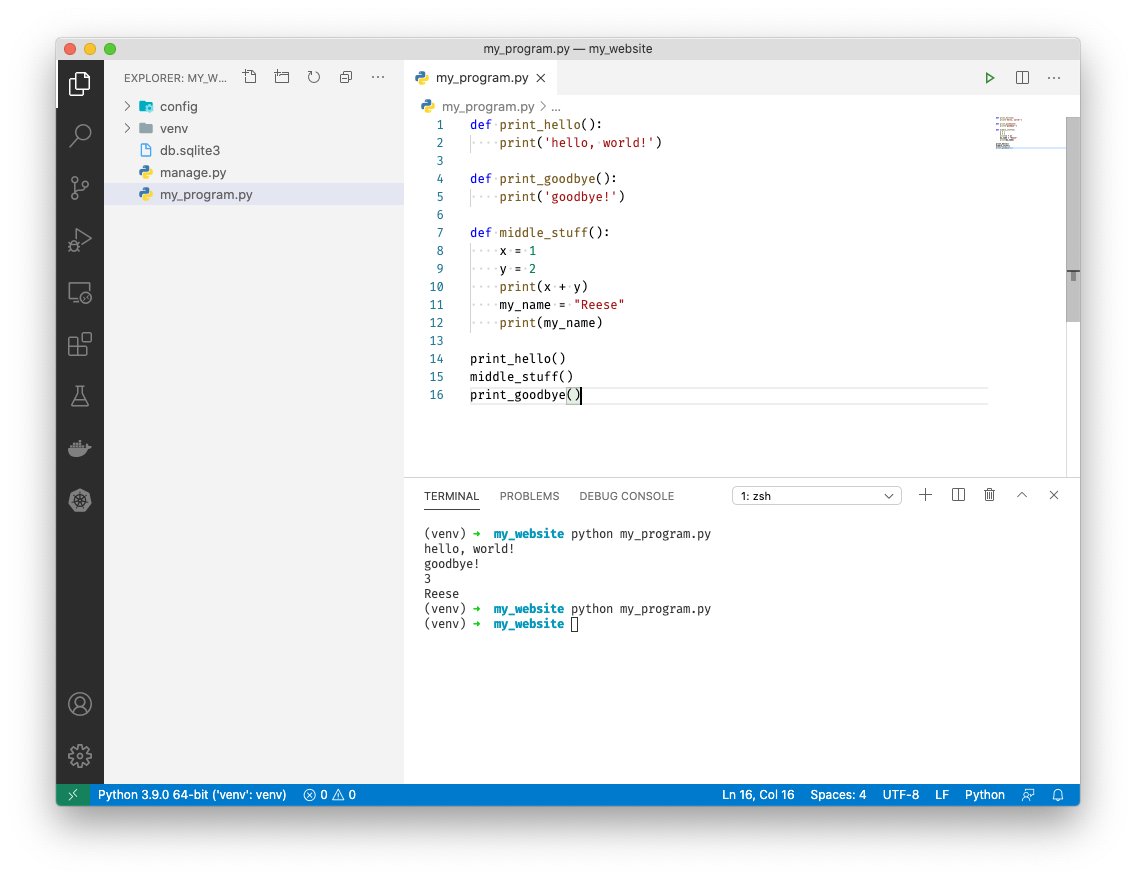
-
We've given our snippets of code "names" by adding a "def" above them. These are called functions. We can call them in any order we want. Let's call them in the correct order by using their names. Add the following to the bottom of my_program.py
print_hello() middle_stuff() print_goodbye() -
Type
python my_program.pyin the terminal and press enter. Now everything prints in order!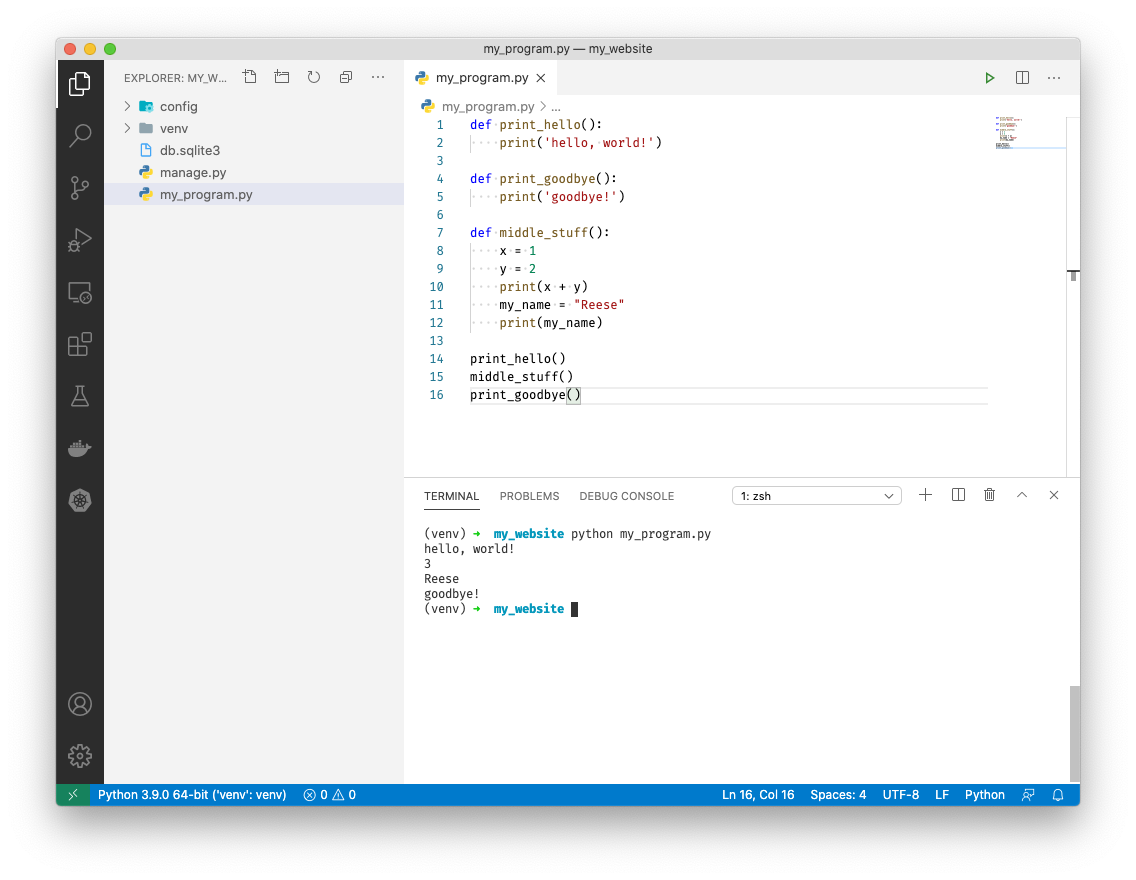


A Django Project
Now that we can write some basic python we can begin our django project. Let's start by creating a view.
-
Close out of my_program.py
-
In the terminal type
django-admin startapp mysite
-
Expand the
configfolder by clicking on it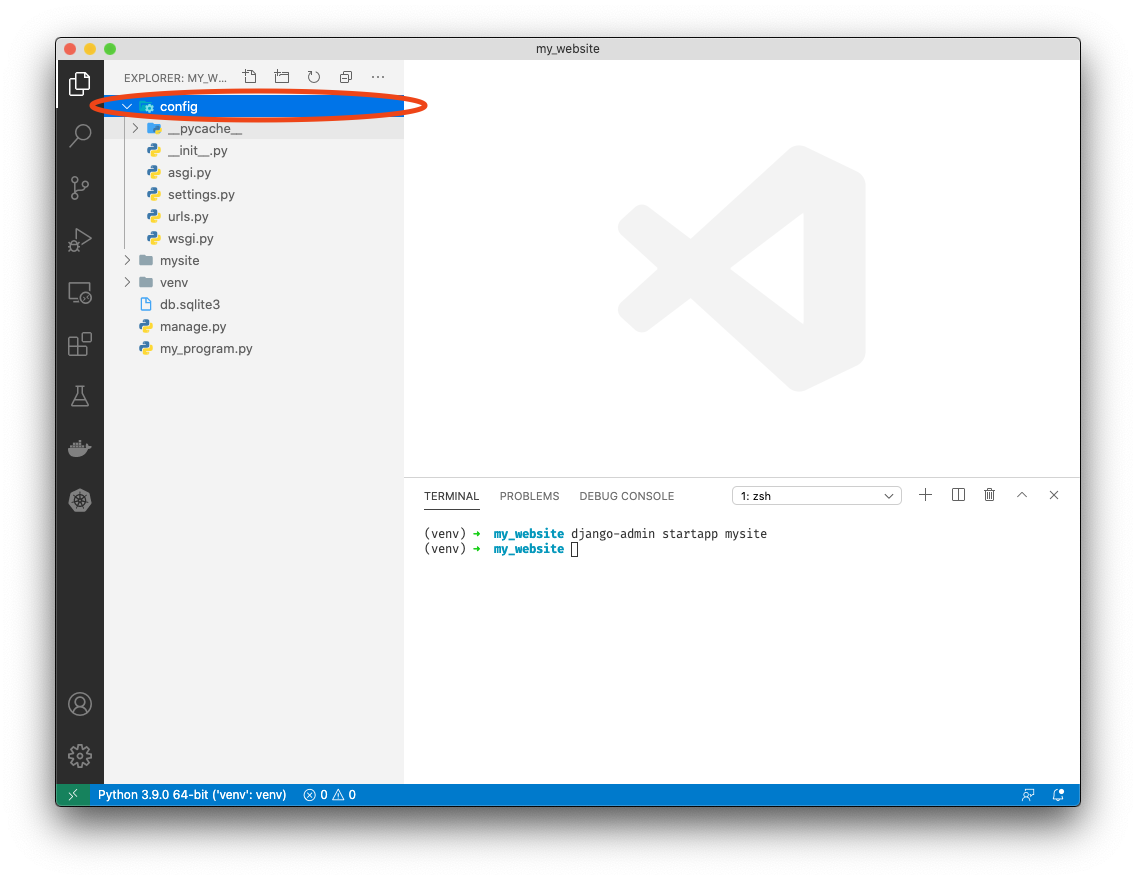
-
Click on
settings.pyto open it -
Scroll down to line 33 and add
mysiteabove'django.contrib.admin'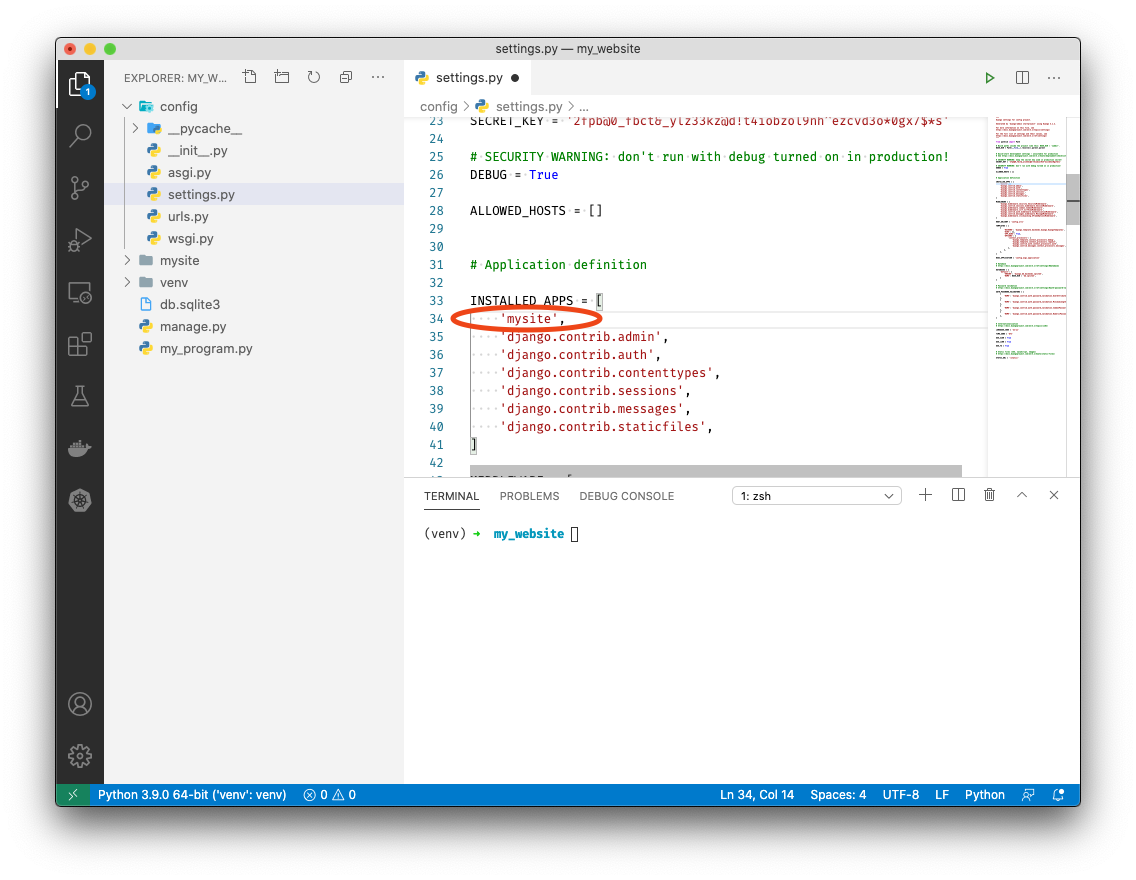
-
Save with ++ctrl++ + S
-
Click on
urls.pyto open it
-
On line 17 add
, includeafterfrom django.urls import path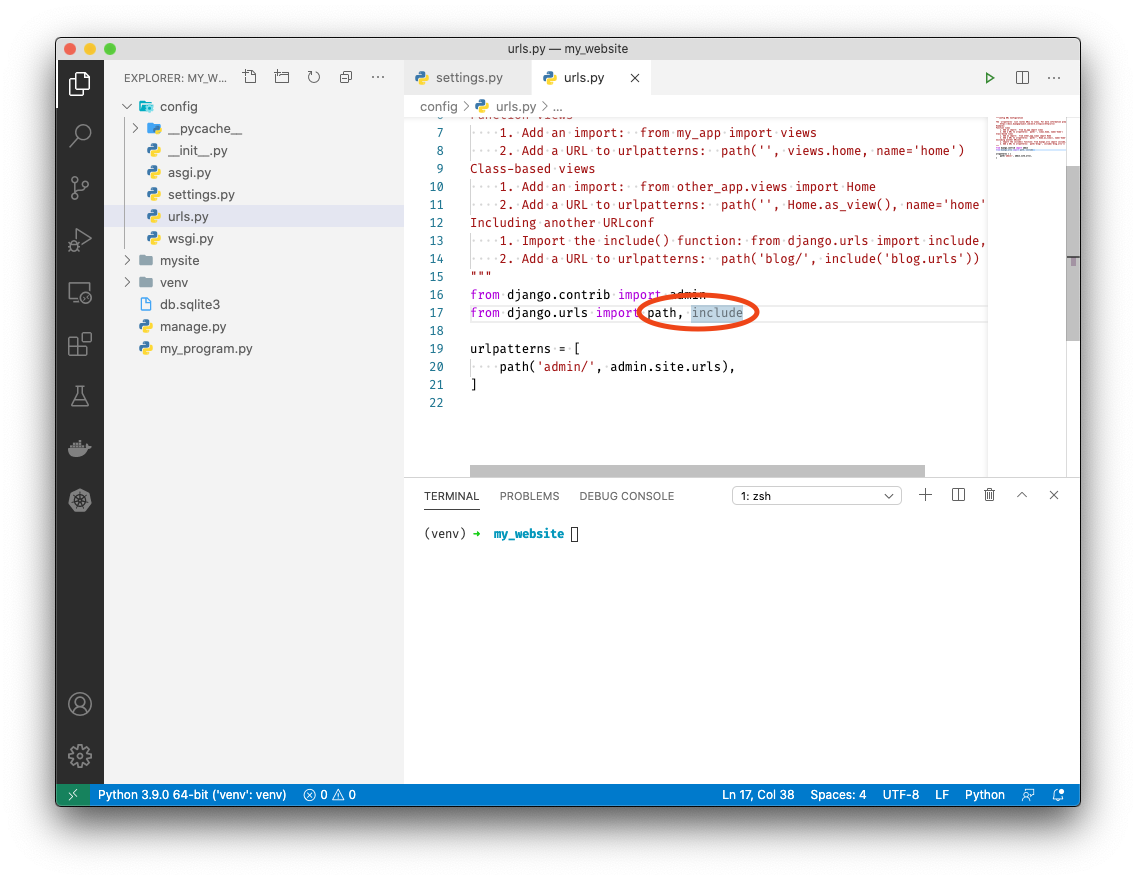
-
Add
path('', include('mysite.urls')),abovepath('admin/', admin.site.urls),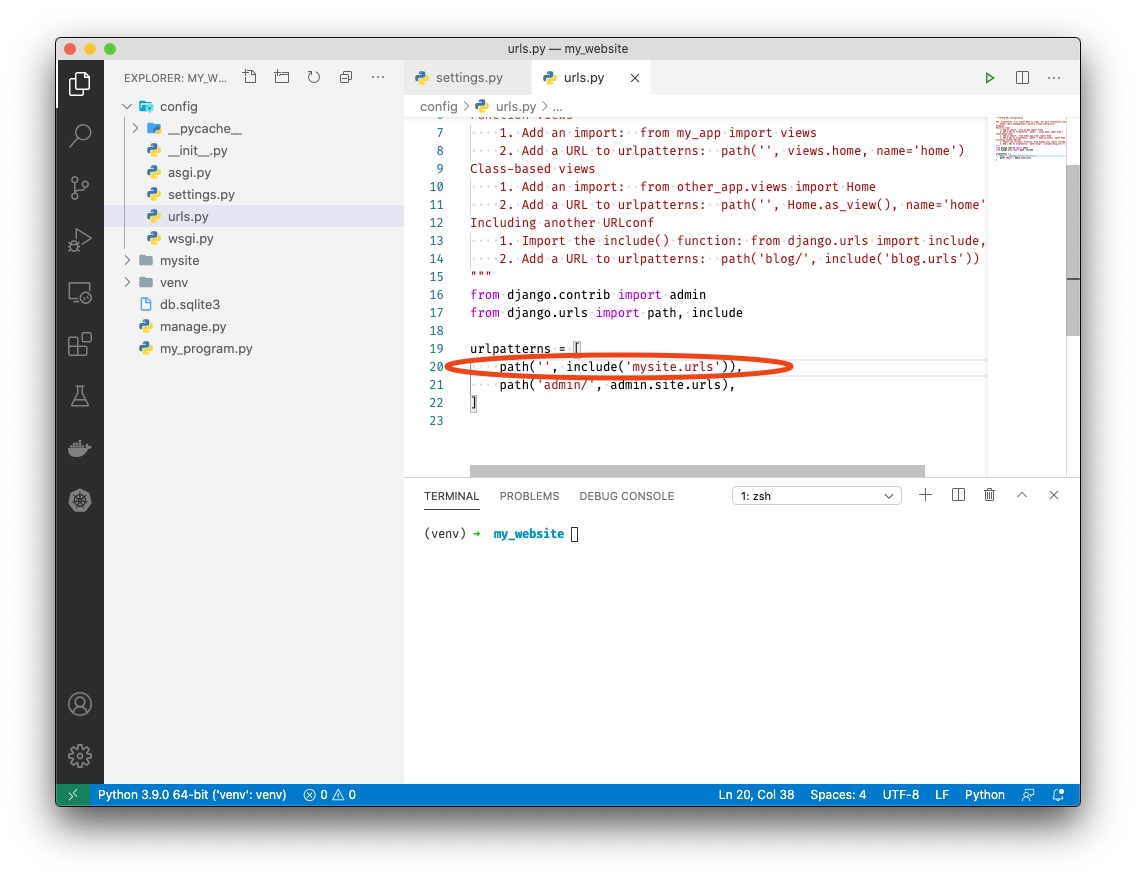
-
Expand the newly created
mysitefolder by clicking on it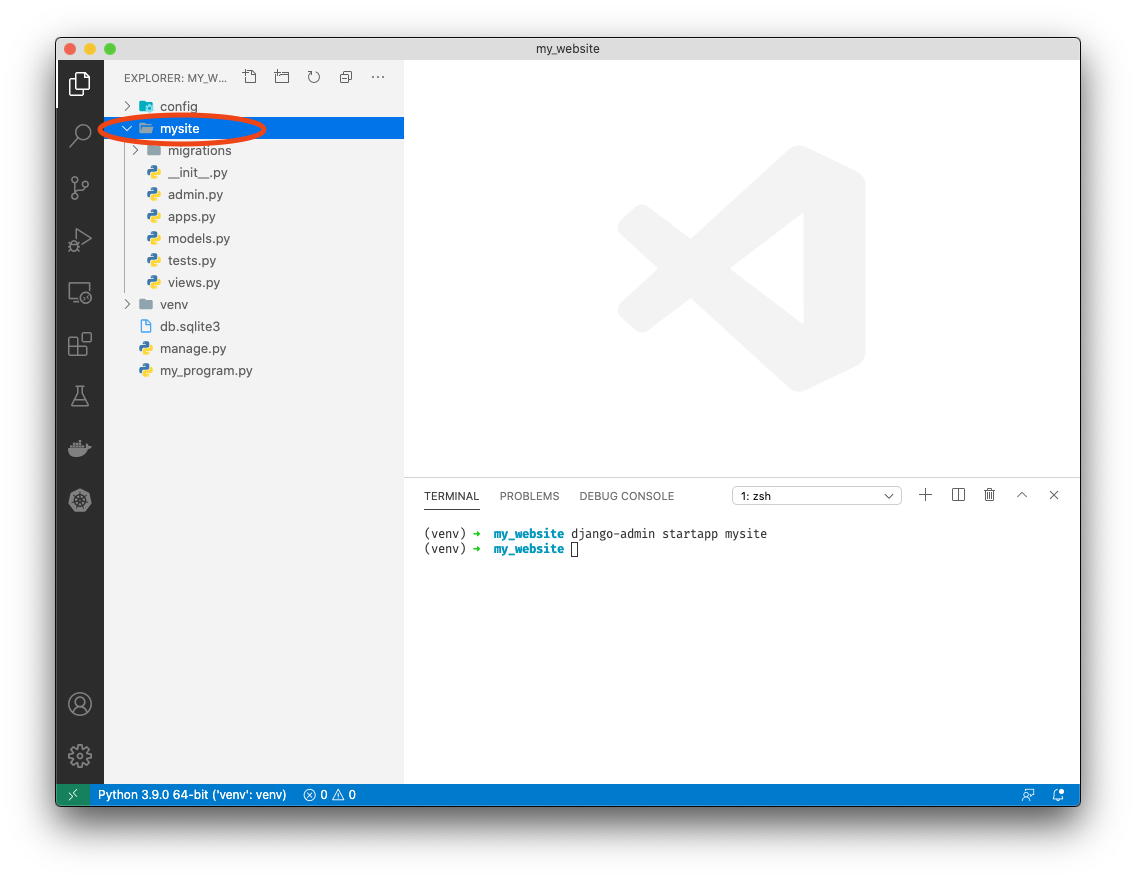
-
Right click on
mysiteand click "New Folder". Name ittemplates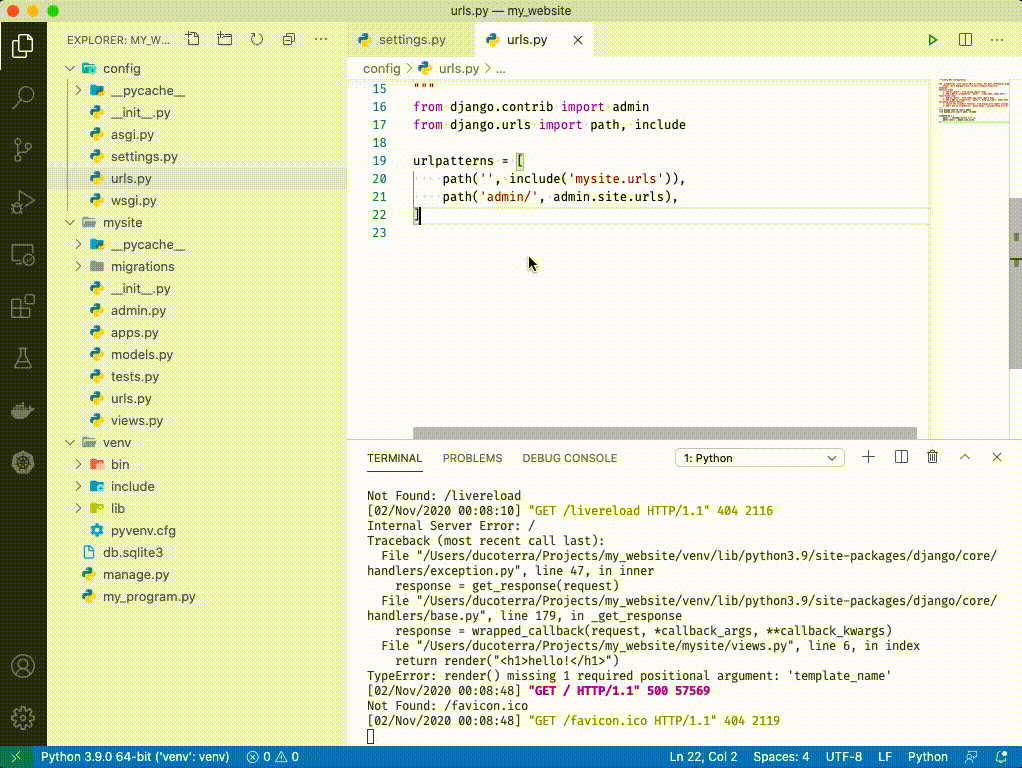
-
Right click on
templatesand click "New Folder". Name itmysite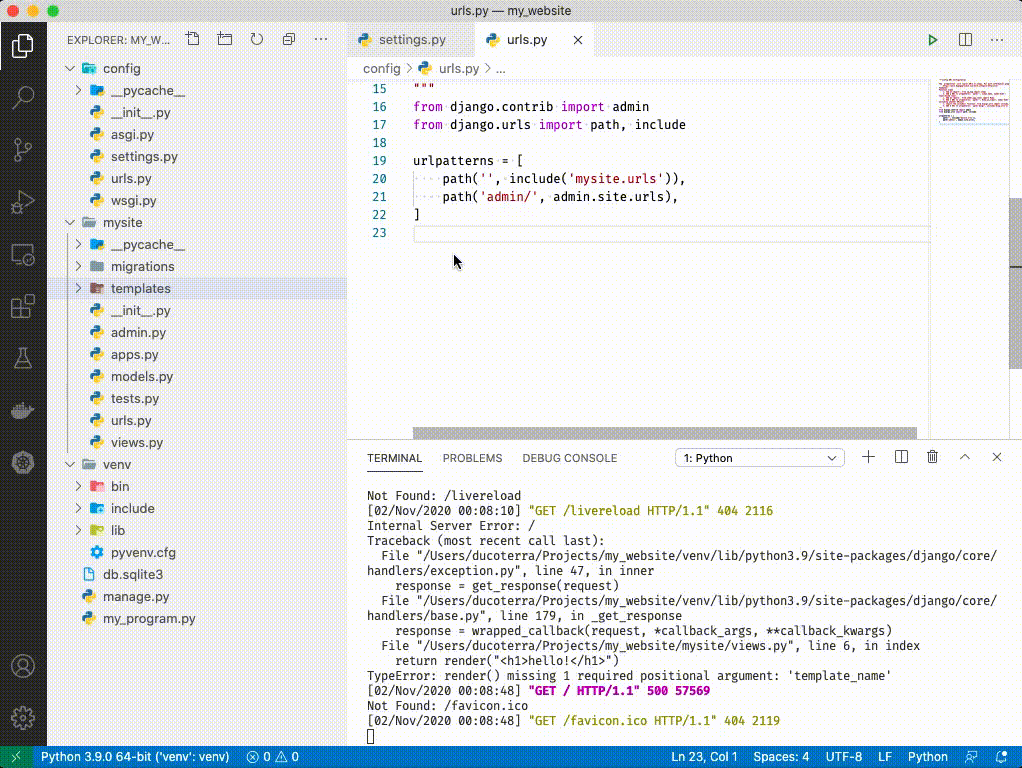
-
Right click on the
mysitefolder insidetemplatesand click "New File". Name itindex.html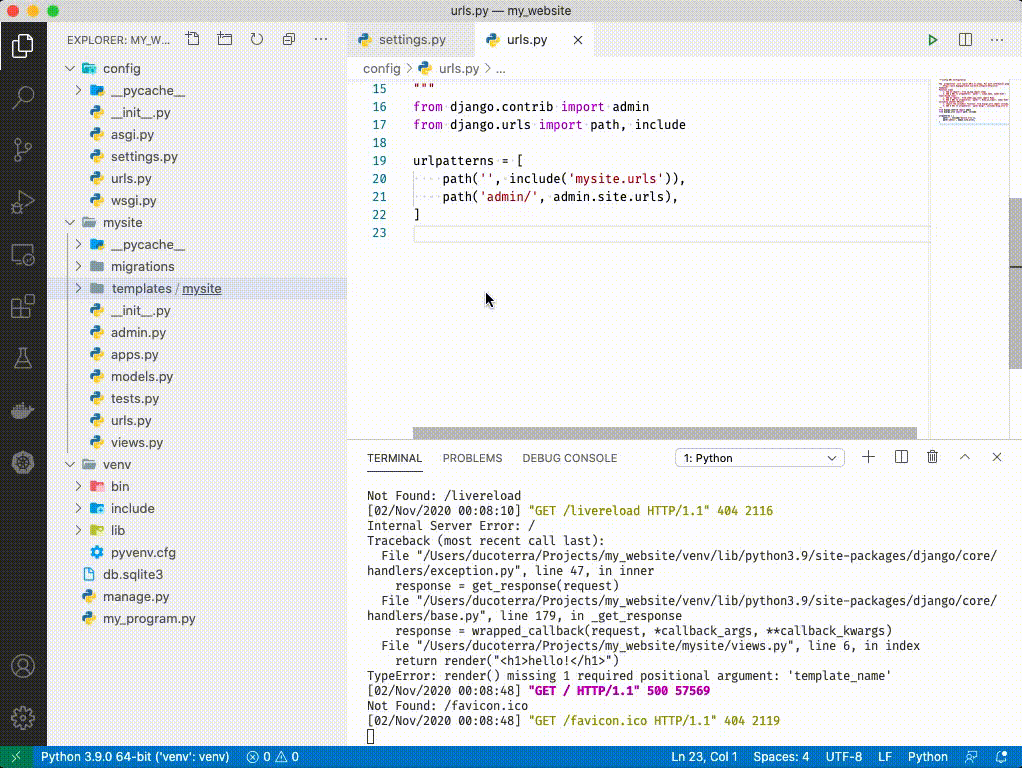
-
Open
index.htmlby clicking on it -
Add the following to index.html
<!DOCTYPE html>

<body>
    {{ data }}
</body>

</html>
-
Save with ++ctrl++ + S
-
Open
views.pyby clicking on it -
In views.py under line 3 add the following:
def index(request):
    return render(
        request,
        "mysite/index.html",
        {"data": "hello"}
    )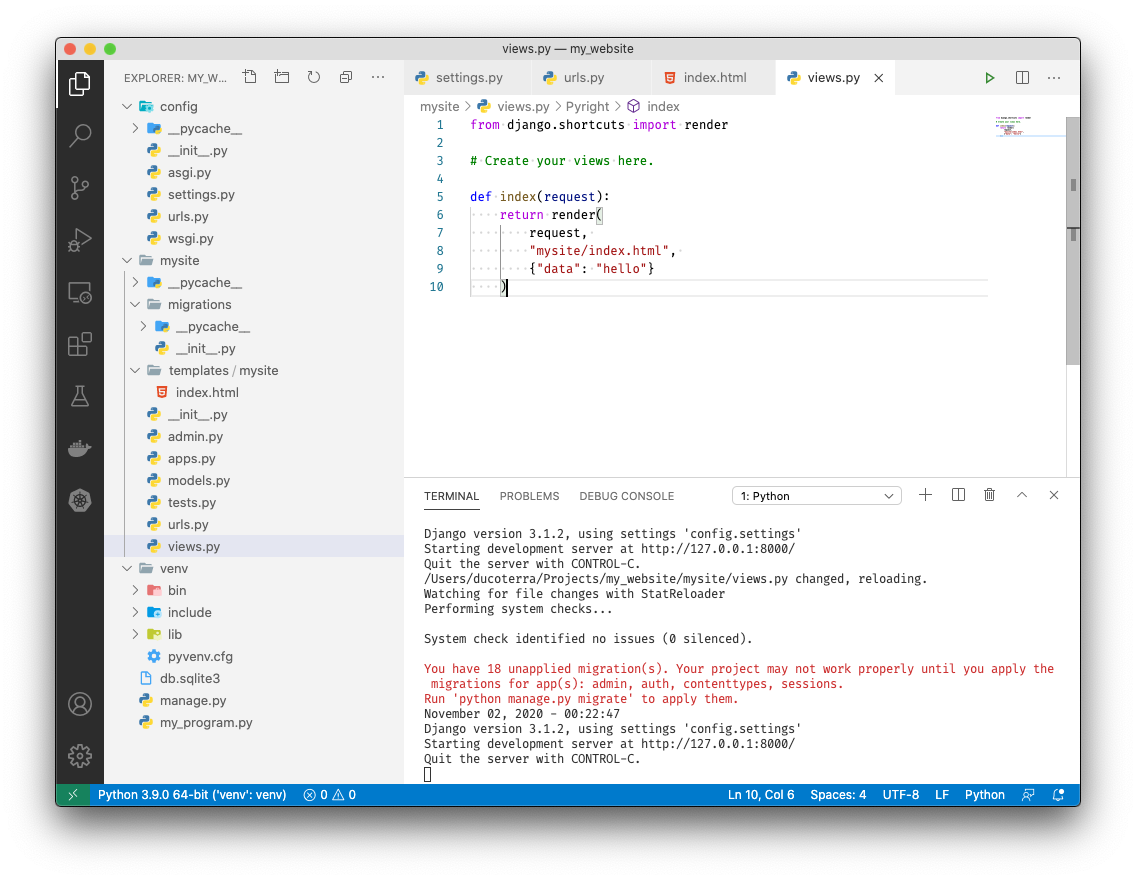
-
Save with ++ctrl++ + S
-
Right click on
mysiteand click "New File". Name iturls.py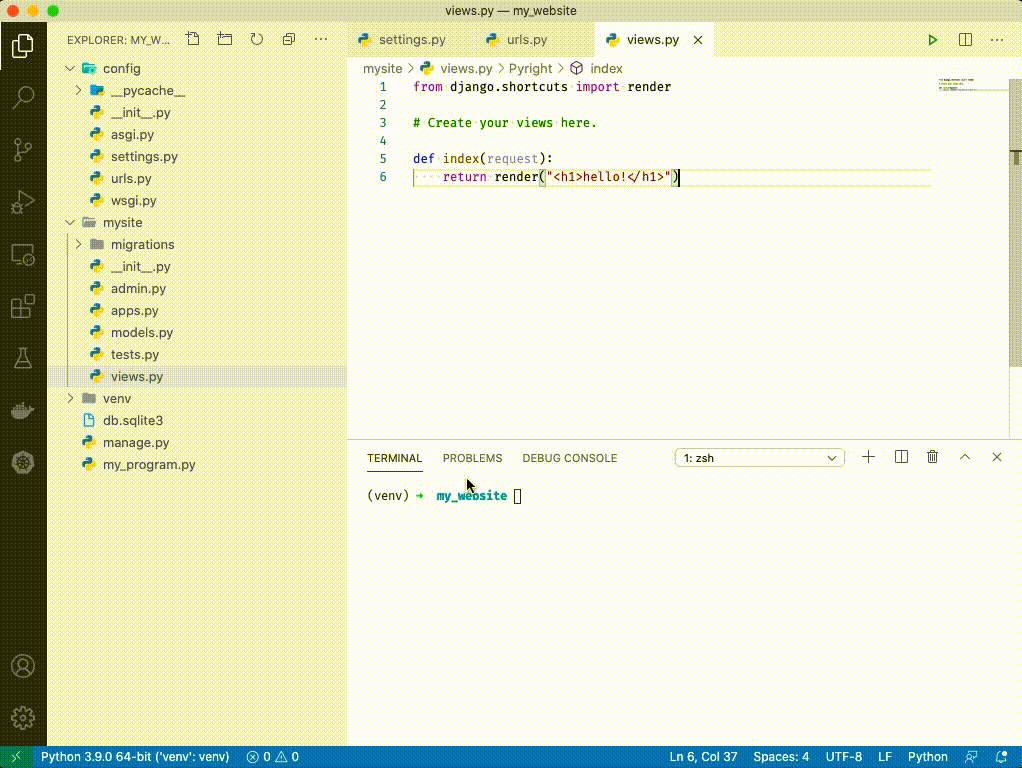
-
Add the following to urls.py:
from django.urls import path
from . import views

urlpatterns = [
    path('', views.index),
]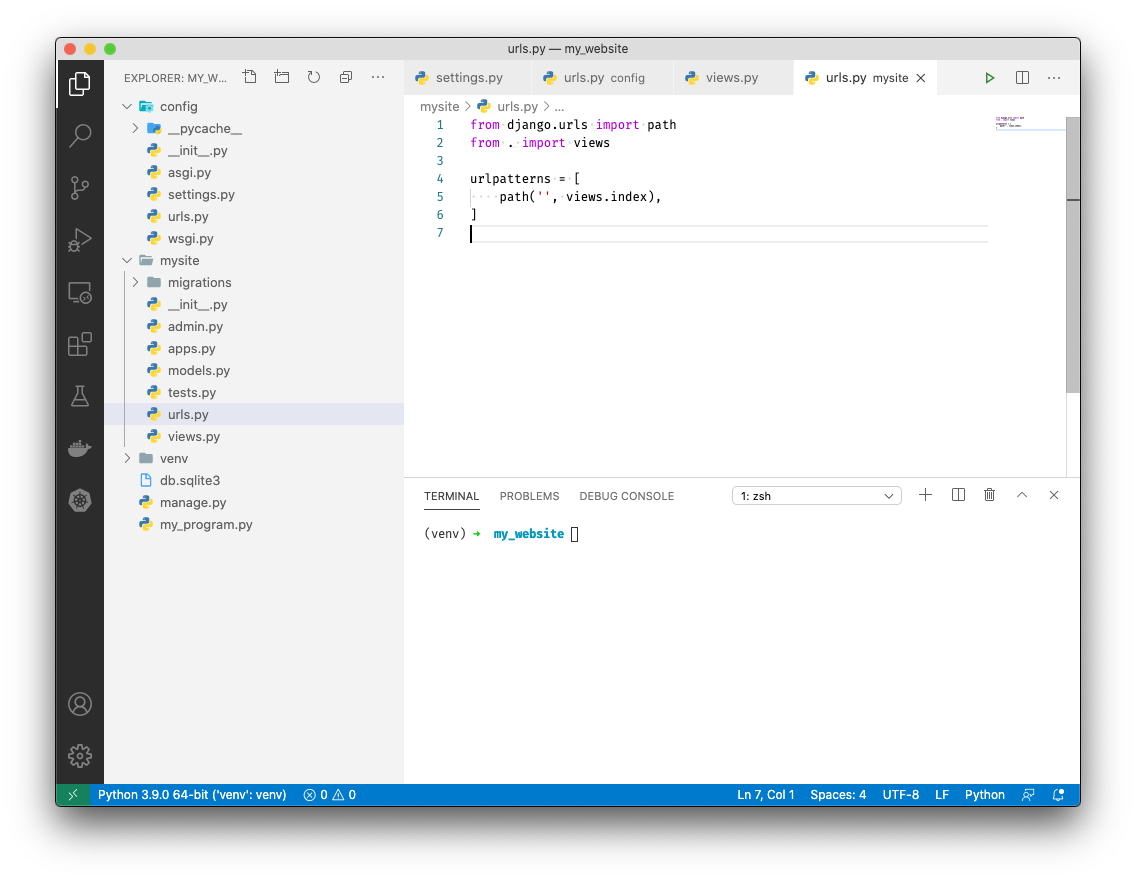
-
Save with ++ctrl++ + S
-
In the terminal type
python manage.py runserver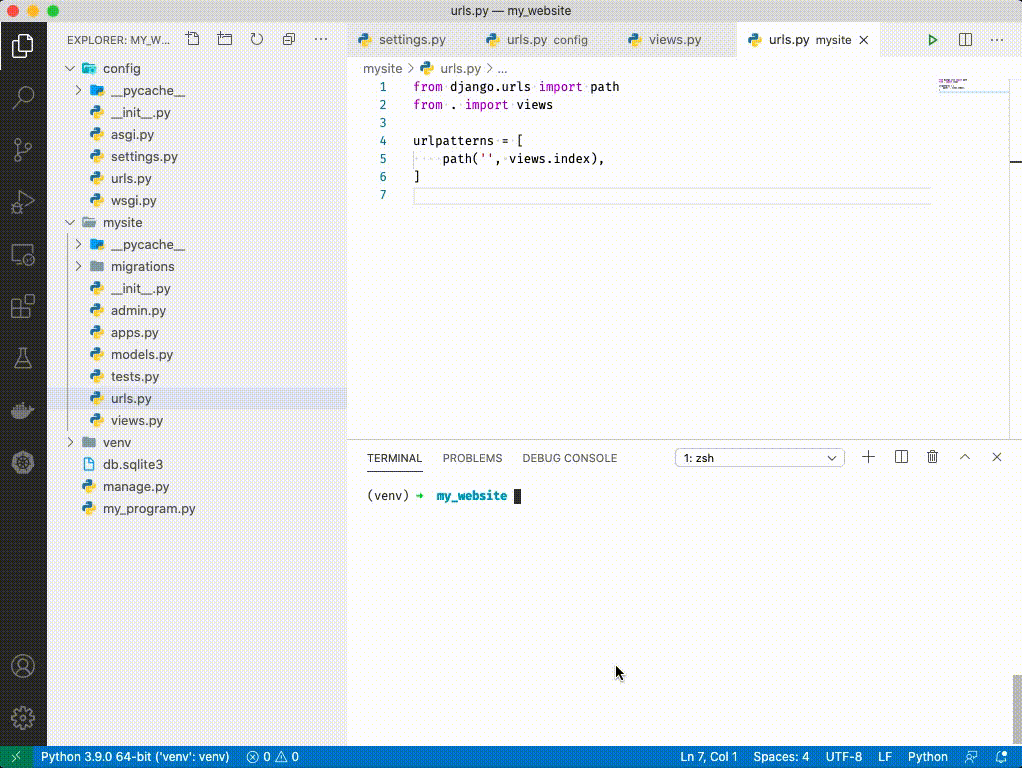
-
In your browser navigate to http://localhost:8000
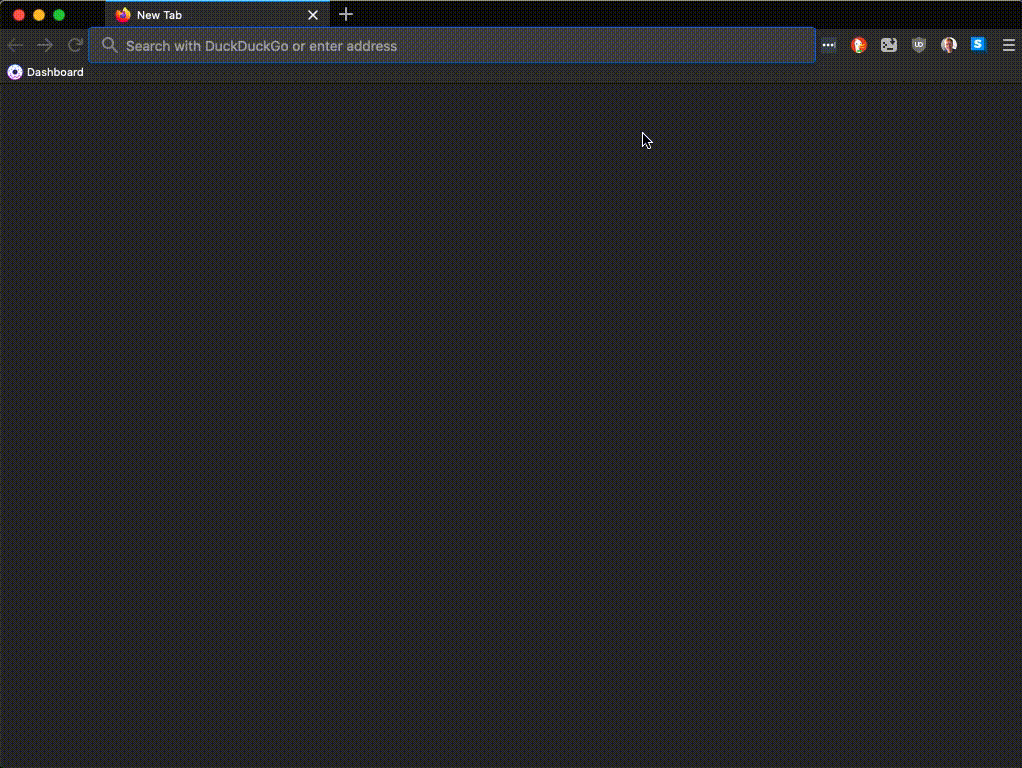


You've now passed python data to a browser! We'll explore what this really means in Day 2.